

This is the data integration, not the widget. To make the chat bubble appear on your storefront, follow
Installation › Shopify. You can do both in either order.
Connect your first store
1
Open Integrations
On the platform, go to Integrations and select the Shopify card.
2
Start the connection
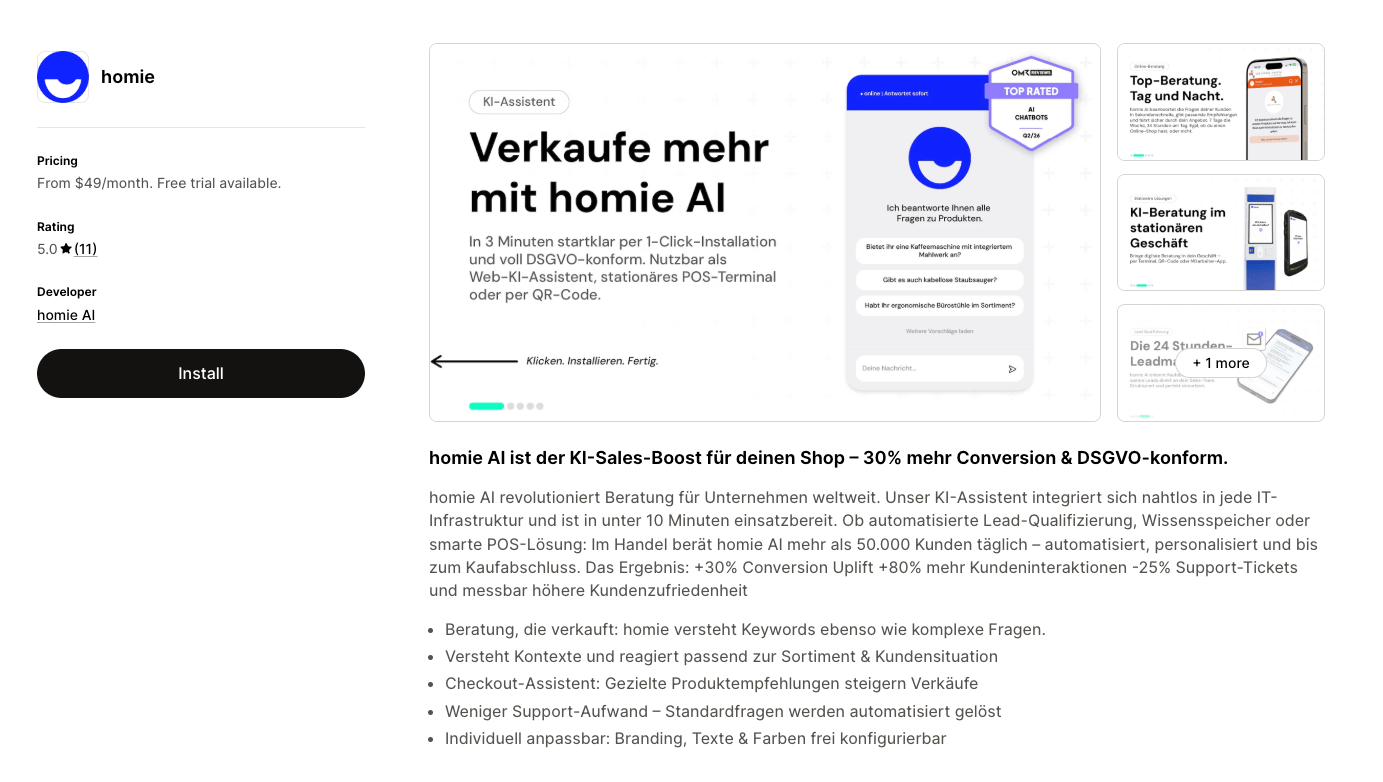
Select Connect. You are taken to the homie AI listing on the Shopify App Store.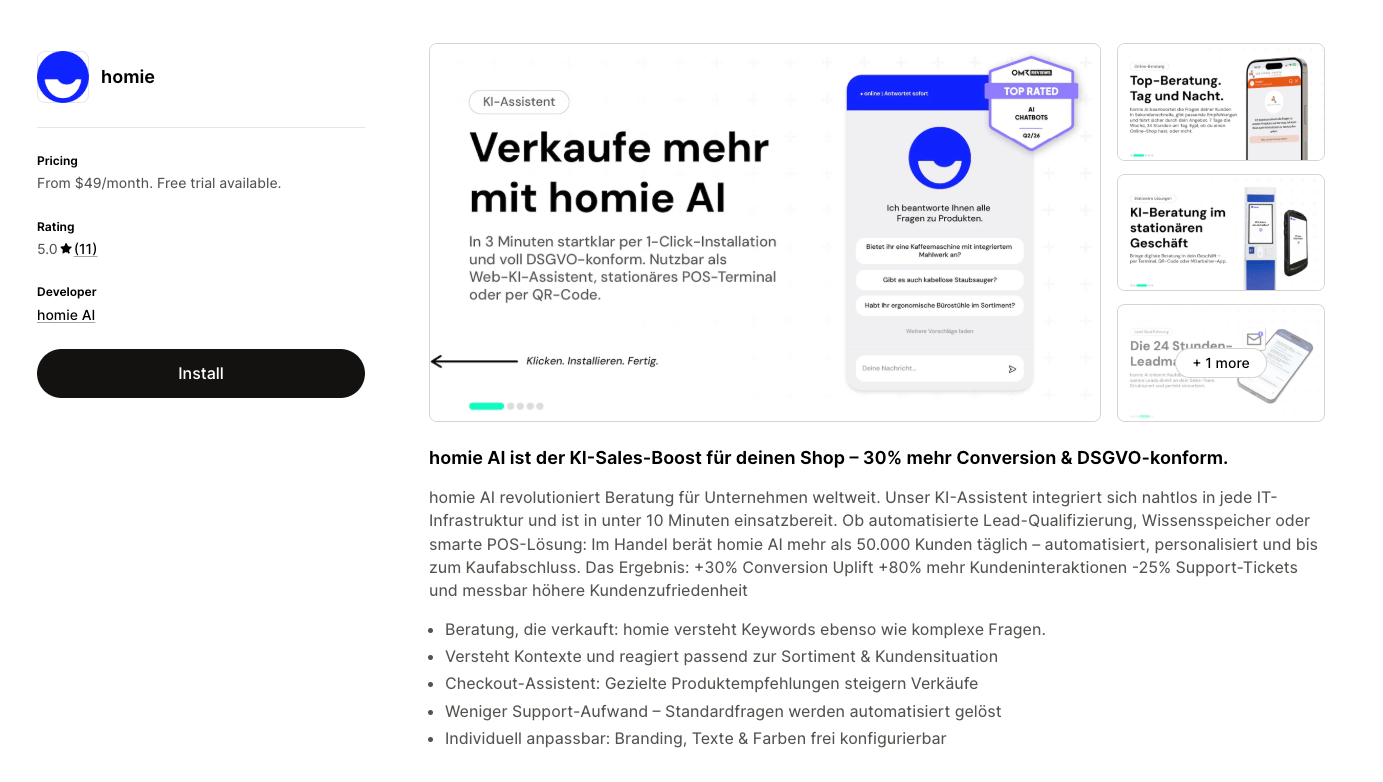
3
Install the app in Shopify
Install the homie AI app for your store and approve the requested permissions. Shopify sends you back to the platform.
4
Confirm the connection
That’s it — homie AI can now read your live product data, and the assistant uses it right away.
The Shopify card shows Connected. Select View to open the list of connected stores.
Add another store
You can connect multiple Shopify stores to the same organization. Open Integrations → Shopify, select Add store, and install the homie app in the additional Shopify store. Repeat this for every store you want to manage.Each connected store appears as a separate card with its domain, conversion-tracking status, and — where applicable
— a Carries your subscription badge.
Product data access
The integration gives homie AI direct access to each connected store’s current product data — titles, descriptions, variants, prices, availability, and product URLs. When you configure an assistant’s product source, select the connected store whose catalog it should use.Manage the connection
Select View on the Shopify integration card to open the store list, then select Manage store on a store. The detail page shows its Domain, Shop URL, Access rights, Connected on date, conversion-tracking settings, and whether it carries your subscription.Control metafield visibility
On a store’s detail page, select Manage metafields to control which synchronized product and variant metafields the assistant may use in shopper conversations. homie evaluates definitions automatically and hides fields that appear internal or operational. Use search and the visibility or level filters to find exceptions, then set an individual field to Automatic, Always visible, or Always hide. Security-restricted definitions cannot be made customer-facing. While the first synchronization and evaluation is still running, the page shows its processing status and updates automatically.Conversion tracking
Conversion tracking is configured separately for each connected store. It attributes purchases from that store back to the conversations that influenced them. It is off by default and set up on the selected store’s Conversion Tracking card:1
Grant permission
homie AI needs permission to place a lightweight tracking pixel in your store. Select Grant permission and
approve it in Shopify. homie AI only reads that a checkout happened — no customer or order data is processed or
stored.
2
Switch it on
Once permission is granted, use the toggle to enable it. The status then reads Conversion tracking enabled;
toggle it off any time.
Managing the Shopify integration — including granting permission — requires an owner or admin role.
Ending the connection
Open Integrations → Shopify, select Manage store, and choose Disconnect store. Confirming uninstalls the homie app from that Shopify store and removes the connection from homie.- For a store that does not carry your subscription, your subscription and other connected stores remain unchanged.
- If the store carries your subscription and another store is connected, transfer billing to another store first. Select the target store and confirm the new subscription in Shopify. After the transfer is active, you can disconnect the previous billing store.
- If it is your last connected store and carries the subscription, uninstalling also ends the Shopify subscription. To continue using homie, you then need to choose a new plan.
Next steps
Install the widget
Add the chat bubble to your Shopify storefront.
Conversion tracking
Attribute purchases back to chatbot conversations.