

The number of custom email domains you can add depends on your plan, and configuring them requires the Owner or Admin role. If your plan doesn’t include custom domains, upgrade to add one.
Add and verify a domain
1
Add your domain
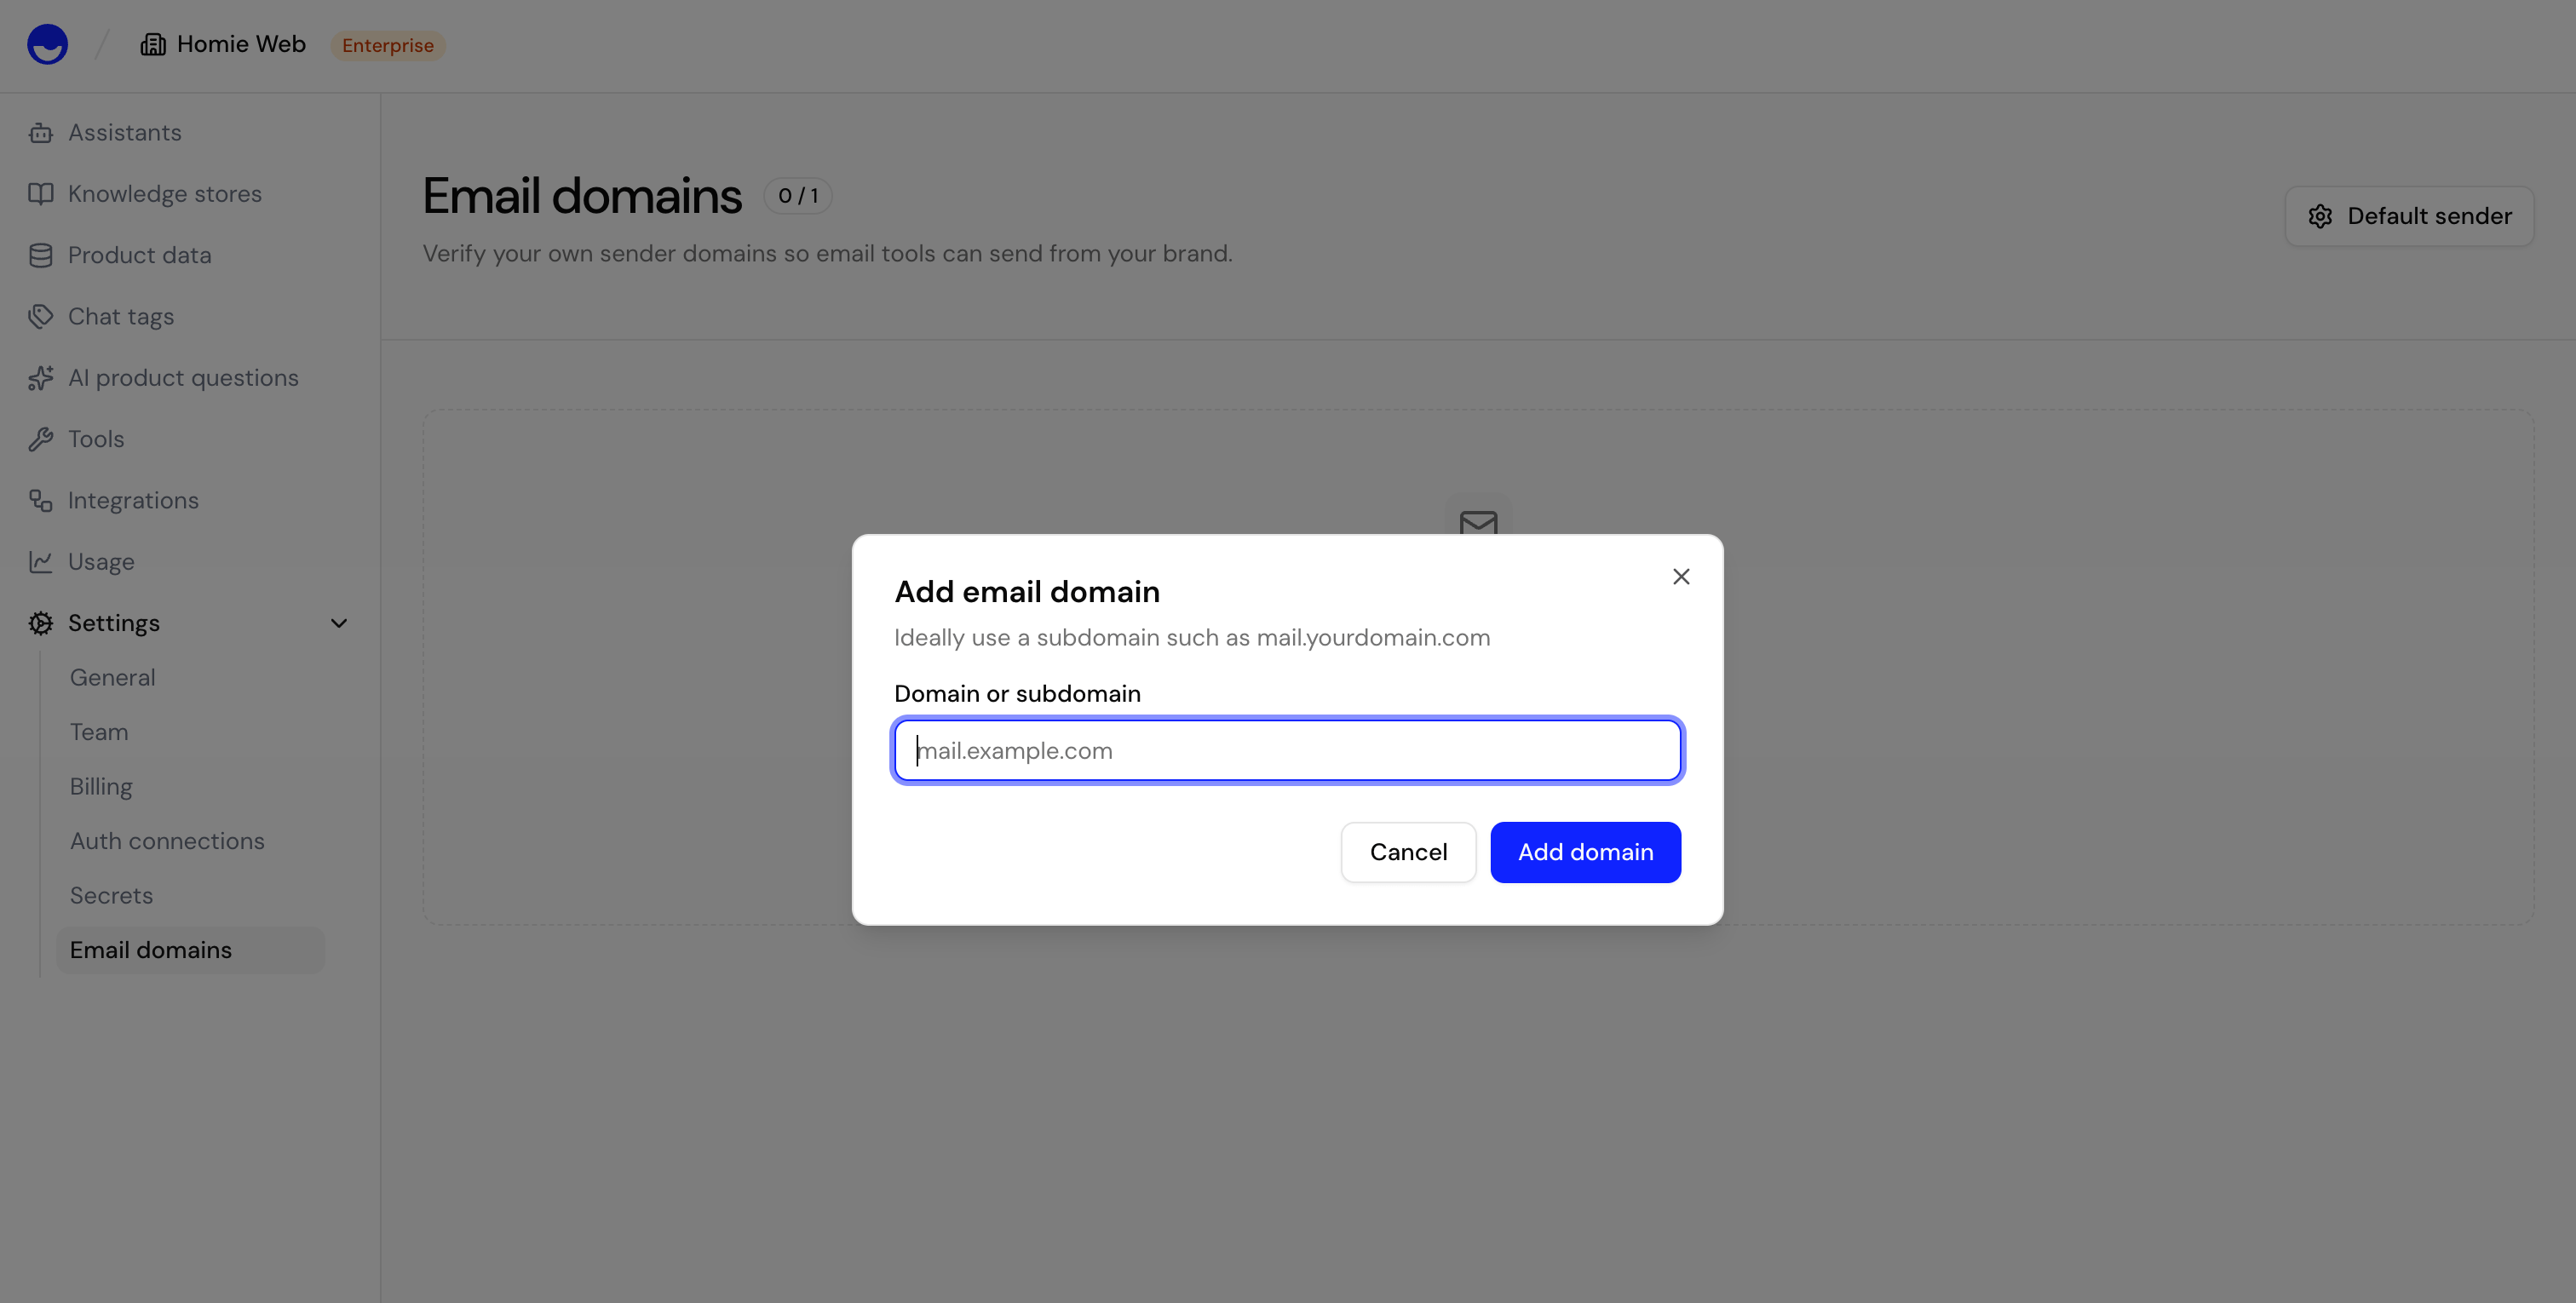
Open Settings → Email domains and select Add email domain. Enter the domain you want to send from, such as
mail.example.com.2
Add the DNS records
homie shows the DNS records to add — a DKIM record and a Return-Path record, each with its name, type, and value. Copy them into your domain’s DNS settings with your DNS provider.
3
Verify
Back in homie, select Check verification. Once the DNS records propagate and match, the domain is marked Verified and ready to send.
Sender profiles
For a verified domain, set up sender profiles — the from-name and from-address your assistant uses when sending email. Configure one or more profiles so outgoing email shows a recognizable sender.Default sender
If you have more than one verified domain or sender profile, set one as the Default sender. The email tool uses the default sender unless an assistant is configured to send from a specific one.Next steps
Email tool
Set up the assistant’s email-sending capability.
Secrets
Store credentials used by your tools.