

Inviting and removing members, and changing roles, requires an Owner or Admin role.
Invite members
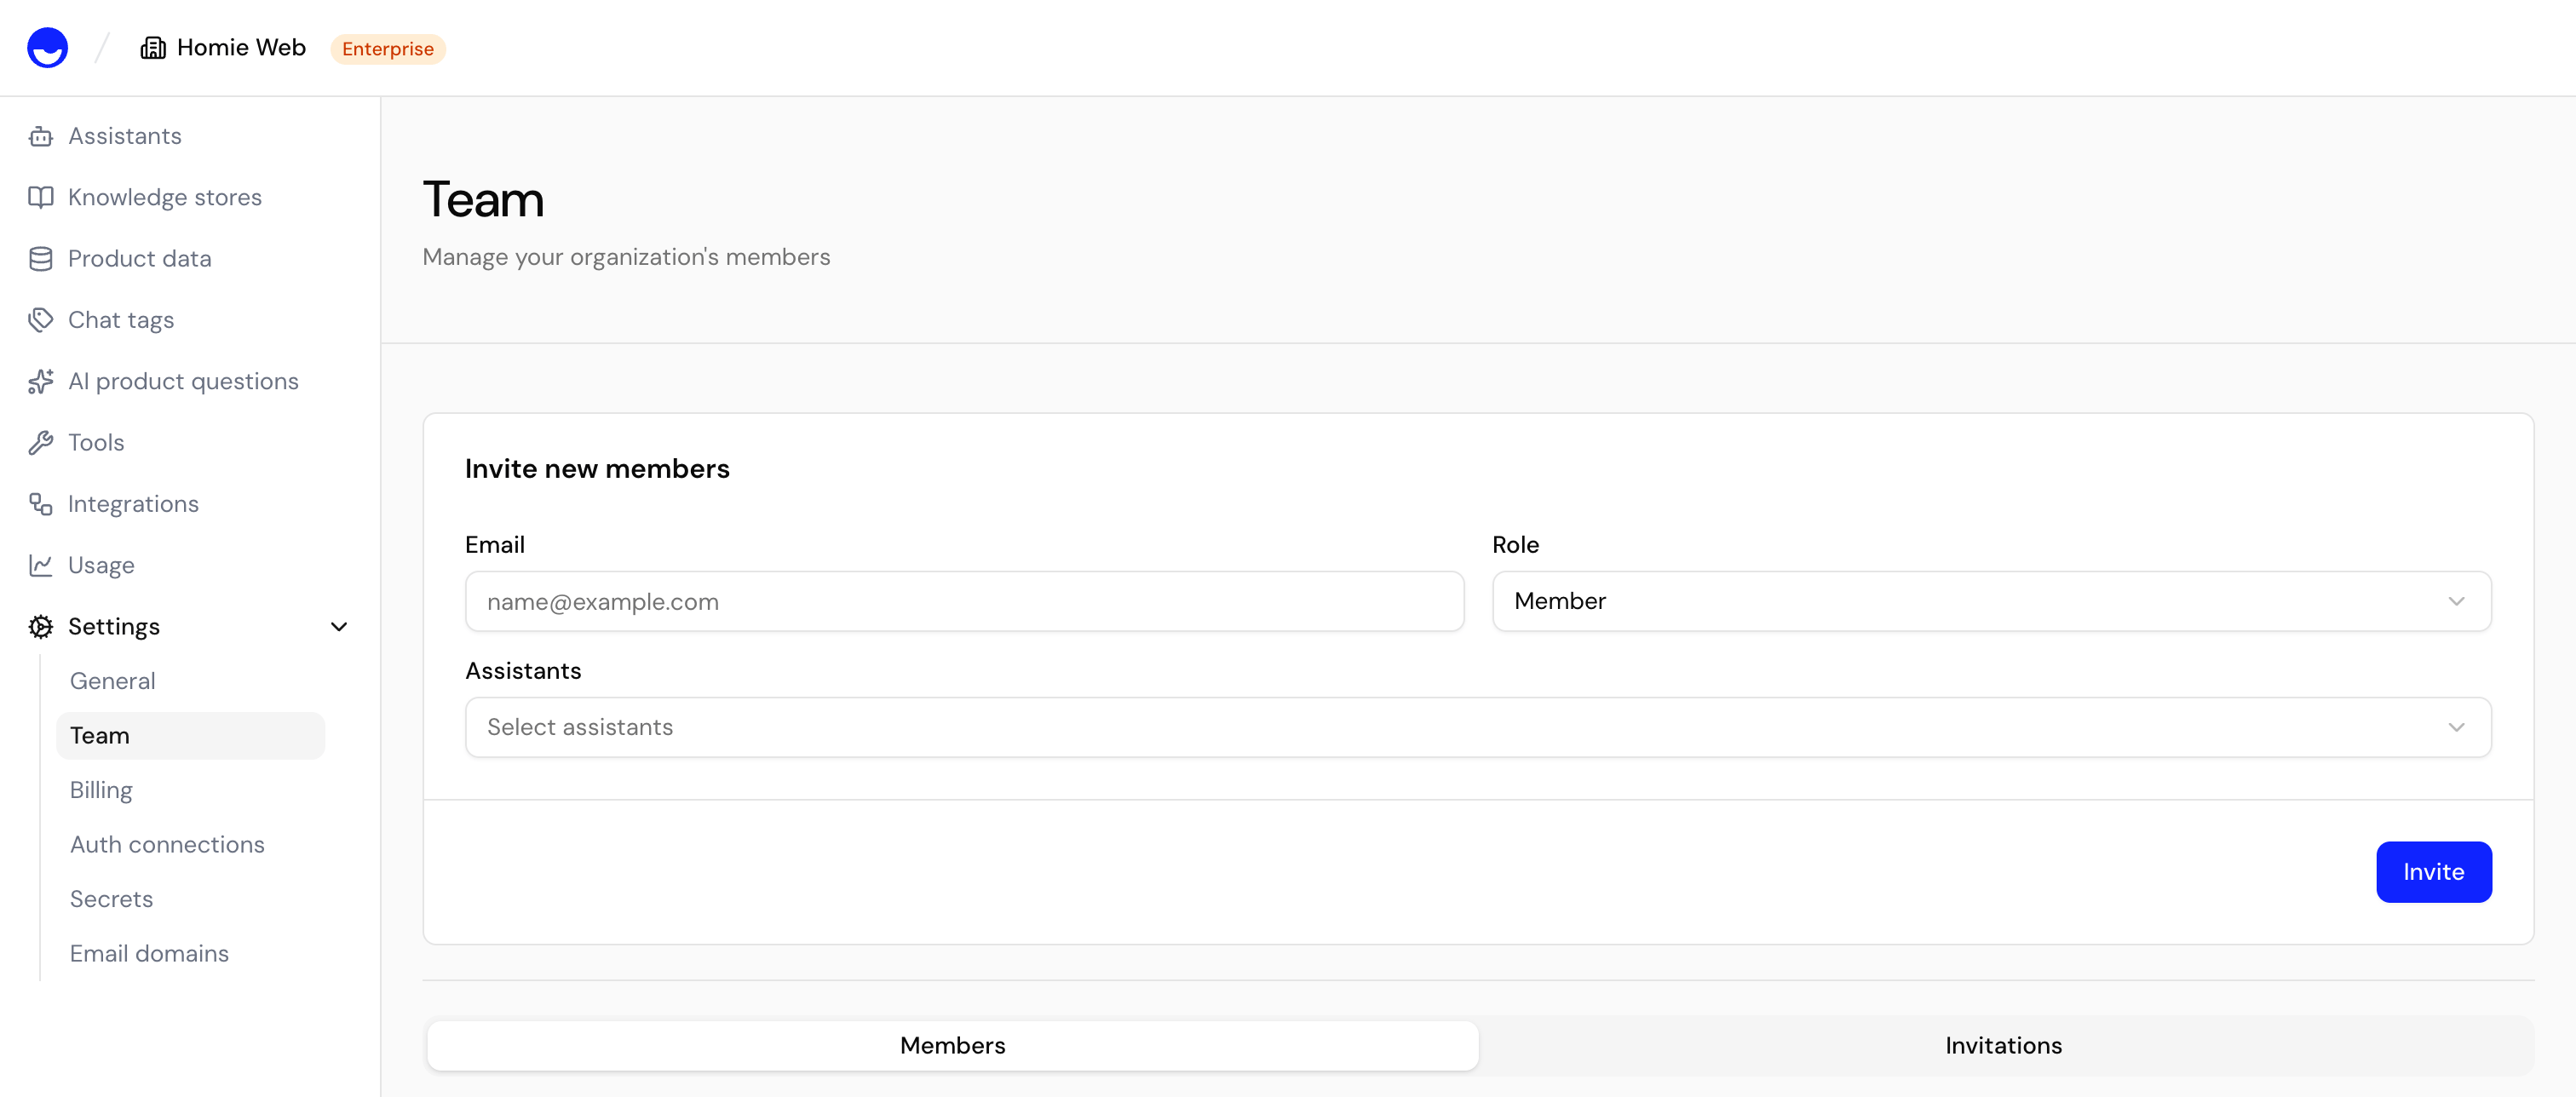
- Open Settings → Team.
- Select Invite.
- Enter the teammate’s email address and choose a role.
- Select the assistants the member should be able to see.
- Send the invitation. The pending invite appears under Invitations until they accept.
Roles and permissions
Each member has one of three roles — Owner, Admin, or Member — that defines what they can do in the workspace. Member is the most limited role and is effectively view-only.Change a member’s role
In the members table, open the role dropdown next to a member and select a new role. The change takes effect immediately.Remove a member
Use the action menu next to a member and select Remove member. They lose access to the workspace right away, on all of their devices. Pending invitations can be revoked the same way before they’re accepted. If your workspace uses single sign-on, a removal only lasts until the person’s next SSO sign-in. To revoke access permanently, also remove the person in your identity provider.Review two-factor status
The members table shows whether each member has enabled 2FA. When the workspace policy requires 2FA, members shown as Not enabled who sign in with email and password are redirected to setup and cannot access workspace APIs until they finish. Sign-ins with Google, Microsoft, or SSO are secured by the respective provider, so the requirement doesn’t apply to them. A member who has both methods is only asked for the code when signing in with the password.Per-assistant access
Beyond workspace roles, you can restrict which assistants a member can work with. Use Change assistant access next to a member to grant or revoke access to individual assistants — useful when you want to give a teammate access to specific assistants without exposing the whole workspace. By default, a member with no restriction set can access every assistant in the workspace.Changing per-assistant access requires the Owner role.
Next steps
Workspace settings
Manage your organization’s name and membership.
Billing & plans
Review your subscription and message quota.