Documentation Index
Fetch the complete documentation index at: https://docs.yourhomie.ai/llms.txt
Use this file to discover all available pages before exploring further.
Page Settings allow you to create a more personalized experience by customizing chatbot behavior for different
sections of your website. Use URL patterns with wildcards to target multiple pages at once.
Overview
Page Settings let you define specific configurations for URLs that match a pattern. This enables you to:- Show different welcome messages on different pages
- Display custom proactive popup messages based on page context
- Provide page-specific example questions
- Hide the chatbot on specific pages
- Create more personalized interactions for your customers
/services pages, ask if they’re looking for a specific service.
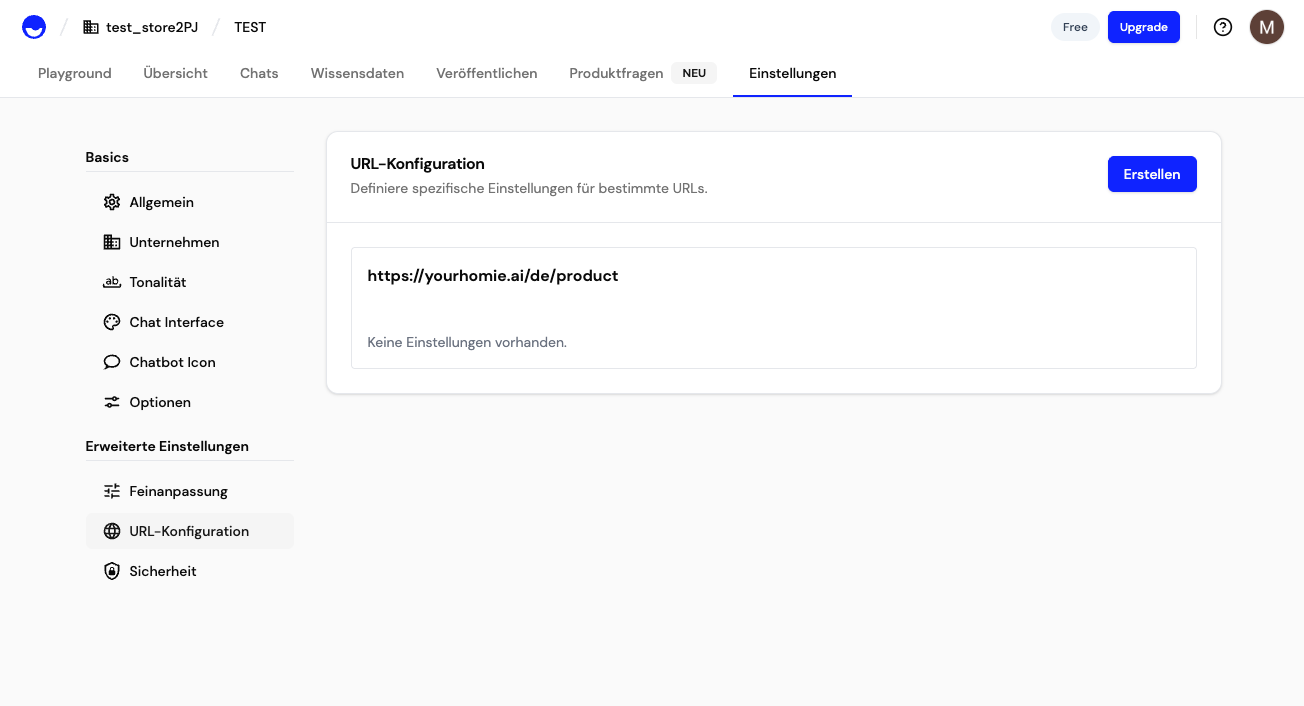
Accessing Page Settings
- Navigate to your assistant in the Homie Dashboard.
- Go to Settings → Advanced Settings → URL Configuration.
- Click Create to add a new URL configuration.
URL Patterns
You can use wildcards (/*) in your URL patterns to match multiple pages:
| Pattern | Matches |
|---|---|
https://yourshop.com/search/* | All pages starting with /search (e.g., https://yourshop.com/search?q=shoes, https://yourshop.com/search/results) |
https://yourshop.com/products/* | All product detail pages |
https://yourshop.com/services/* | All pages starting with /services |
https://yourshop.com/checkout | Only the exact /checkout page |
Basic Configuration
After creating a URL pattern, you can configure the following settings:Hide Chatbot
Enable this option to completely hide the chatbot on pages matching this URL pattern.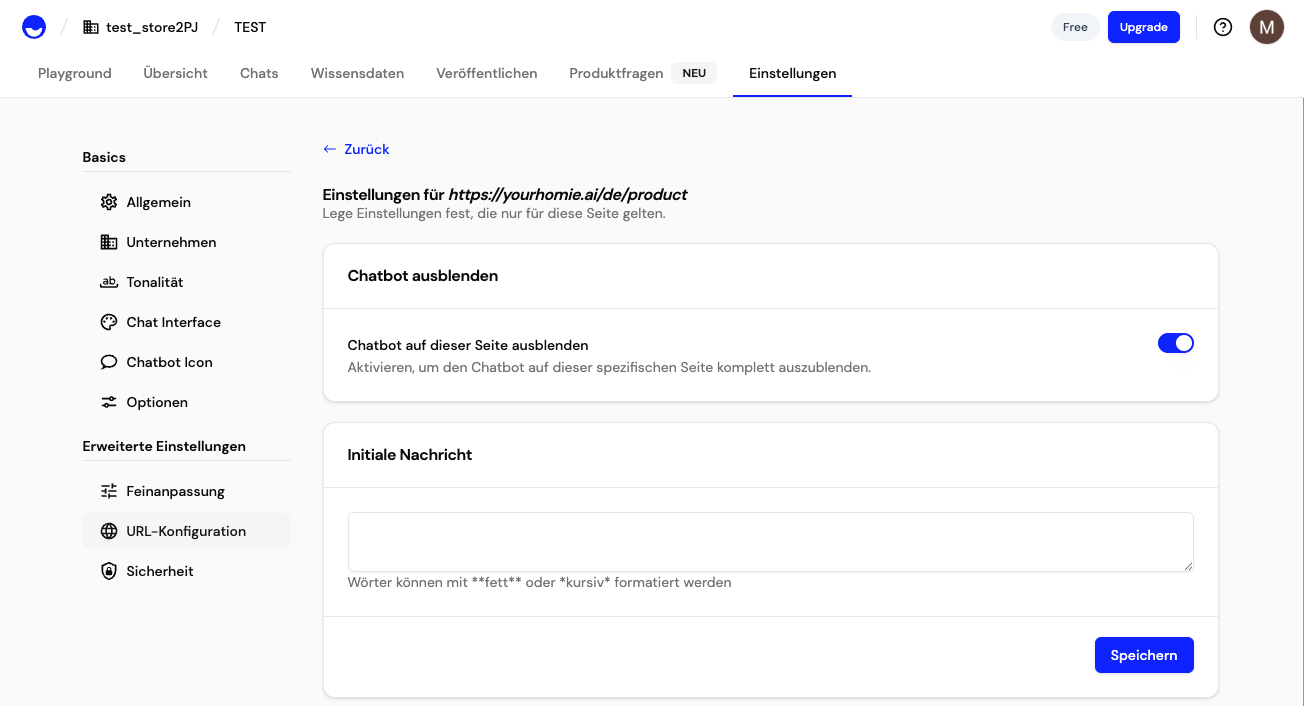
Initial Message
Set a custom welcome message that appears when the chat is first opened. This overrides the default welcome message for pages matching this URL pattern. You can format text using bold or italic markdown syntax.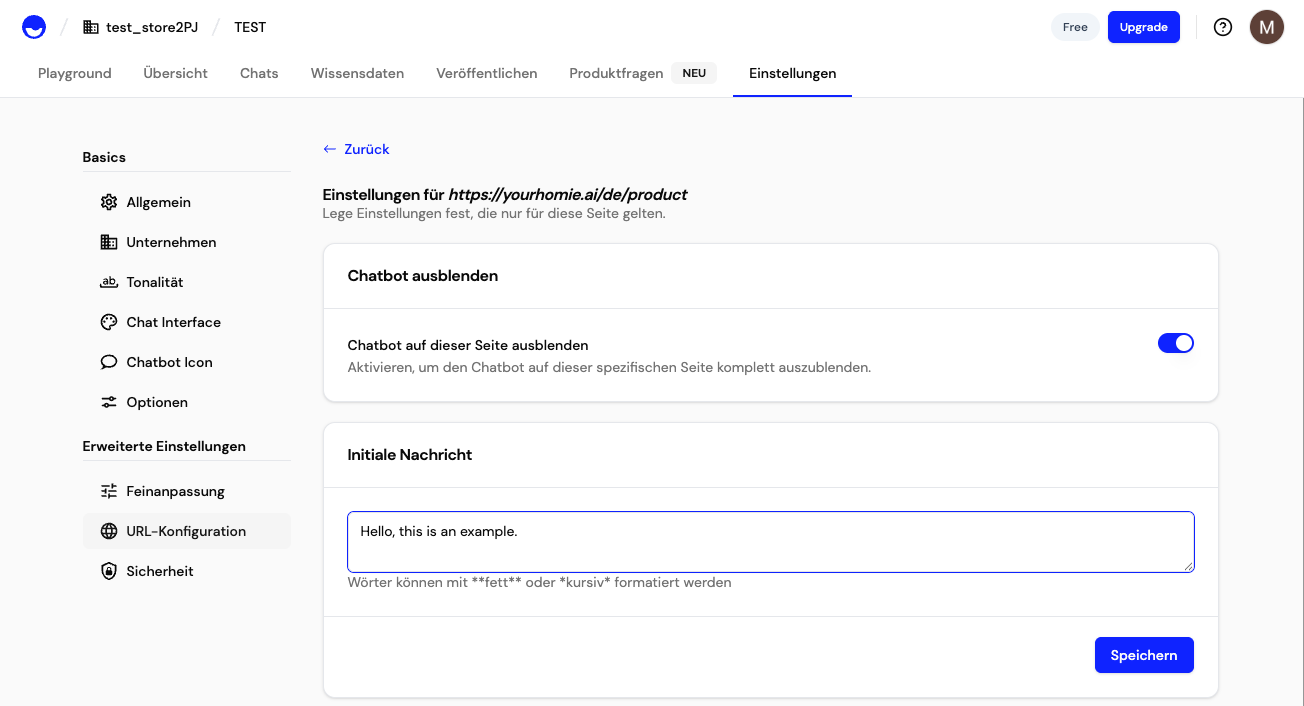
Suggested Messages
Provide custom example questions or prompts that appear as quick-reply buttons in the chat interface. Each line corresponds to one suggested message.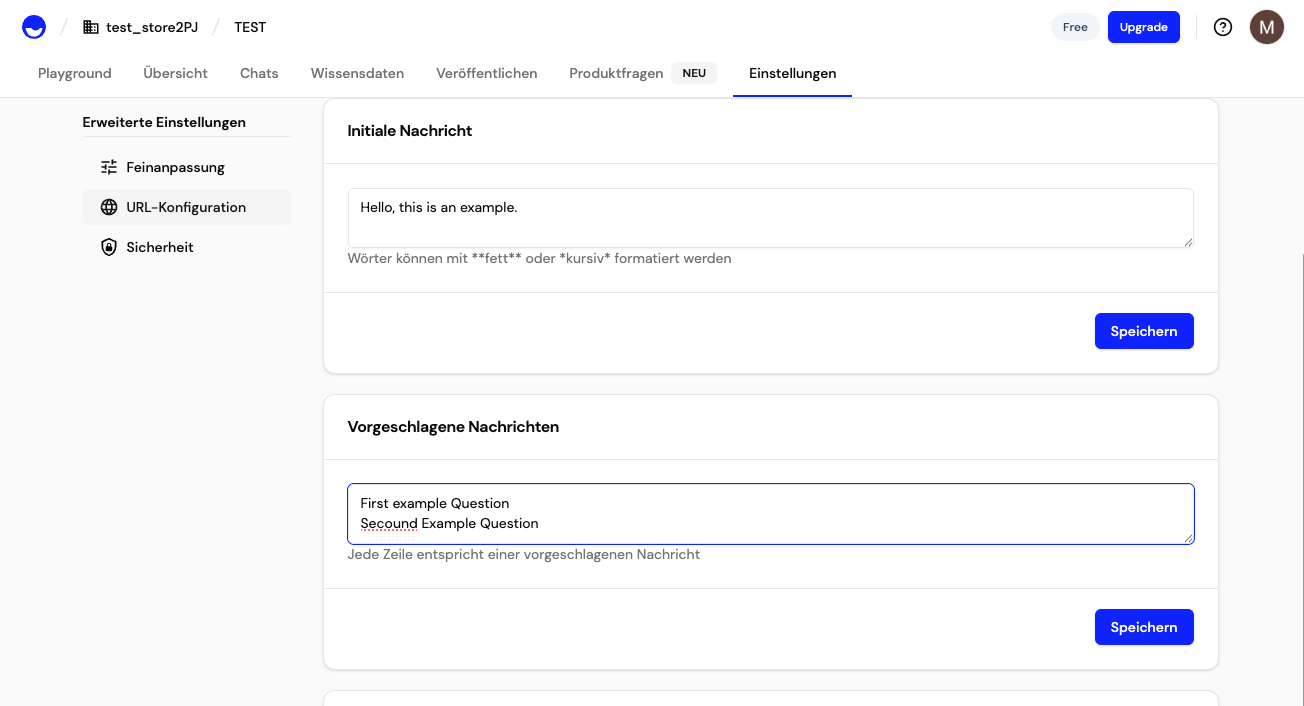
Proactive Message Configuration
Proactive messages appear before the customer opens the chat, helping you engage visitors at the right moment.Settings
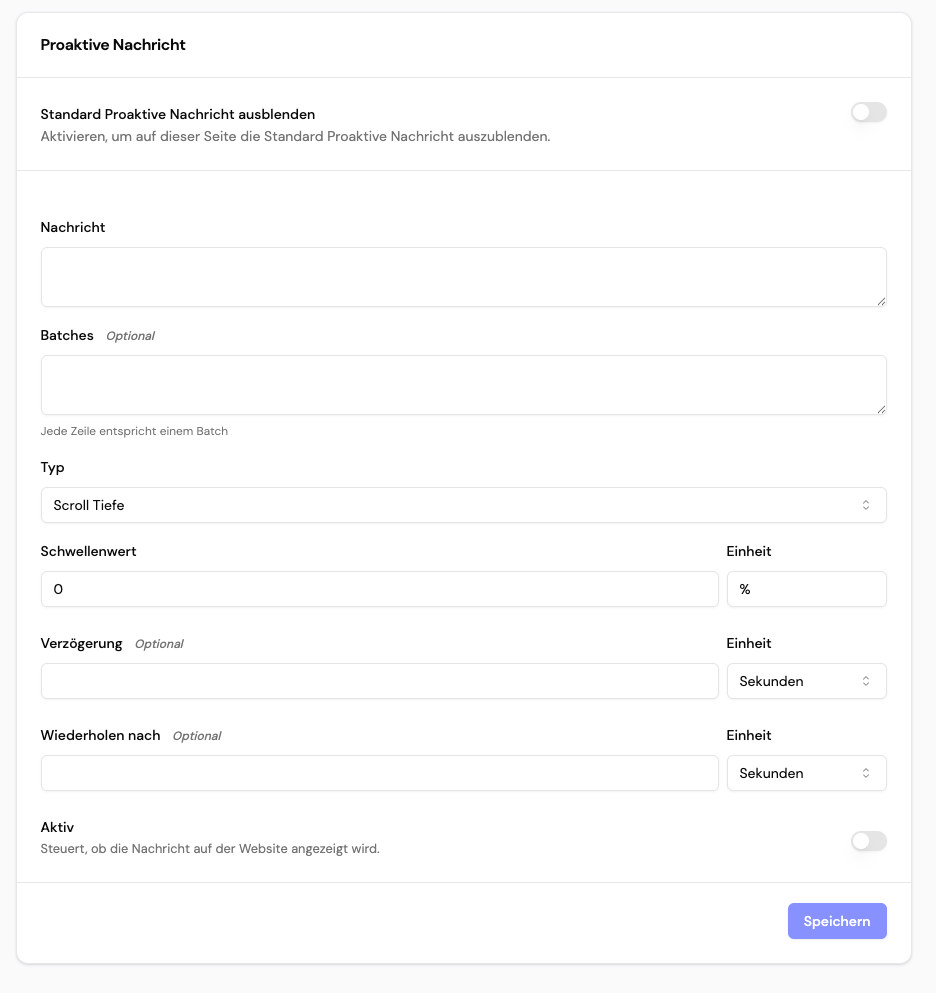
Hide Standard Proactive Message
Enable this to hide the default proactive message on this page and show only your custom message.Message
Enter the text that will be displayed in the proactive popup. This message appears before the chat is opened.Batches (Optional)
Define multiple message variations that can be rotated. Each line corresponds to one batch variant. This is useful for A/B testing different messages. Example:Type
Choose when the proactive message should appear:- Scroll Depth — Triggers when the user scrolls to a certain percentage of the page
- Time on Page — Triggers after the user has been on the page for a certain duration
- Page View — Triggers immediately when the page loads
Threshold
The value that triggers the proactive message, combined with the unit:- For Scroll Depth: Percentage (0-100)
- For Time on Page: Seconds
- For Page View: N/A (triggers immediately)
Delay (Optional)
Add a delay before showing the proactive message, even if the trigger condition is met. Useful for giving users time to interact with the page first.Repeat After (Optional)
Define how long to wait before showing the proactive message again if the user dismisses it. This prevents the message from being too intrusive.Active
Toggle to enable or disable this proactive message. Useful for temporarily disabling messages without deleting the configuration.Use Cases
Search Page
Create a URL pattern forhttps://yourshop.com/search/* and configure:
- Initial Message: “Hi! Need help finding something? I can assist you with your search.”
- Suggested Messages:
- Proactive Message: “Looking for something specific? Let me help you find it!” (triggers at 30% scroll depth)
Services Page
Forhttps://yourshop.com/services/* pages:
- Initial Message: “Welcome! Are you looking for a specific service? I can provide more information.”
- Suggested Messages:
- Proactive Message: “Interested in our services? I can answer your questions!” (triggers after 10 seconds)
Checkout Page
Forhttps://yourshop.com/checkout:
- Hide Standard Proactive Message: Enabled (to avoid distraction during checkout)
- Initial Message: “Almost done! Need help with payment or shipping options?”
- Suggested Messages:
Best Practices
- Start simple: Begin with a few high-traffic pages and expand based on performance
- Test messages: Use batches to A/B test different proactive messages
- Don’t be intrusive: Use delays and thresholds to show messages at appropriate times
- Match context: Ensure your messages are relevant to the page content
- Monitor performance: Review chat analytics to see which configurations perform best
Troubleshooting
- Message not showing? Check that the URL pattern matches your page URLs exactly, including the full domain (e.g.,
https://yourshop.com/search/*) and any query parameters if needed - Wildcard not working? Ensure you use
/*(not just*) as the wildcard pattern and that you’ve included the full URL path starting withhttps:// - Proactive message too frequent? Adjust the “Repeat After” setting to increase the interval
- Configuration not applying? Verify that the “Active” toggle is enabled for proactive messages