> ## Documentation Index
> Fetch the complete documentation index at: https://docs.yourhomie.ai/llms.txt
> Use this file to discover all available pages before exploring further.
# Email Domains
> Add and verify a custom sending domain for the email tool, configure sender profiles, and set a default.
Email domains let your assistant's [email tool](/en/user-guide/tools/email-tool) send messages from your own domain instead of a generic address. Verifying a domain improves deliverability and keeps emails on-brand. Open **Settings → Email domains** to configure them.
The number of custom email domains you can add depends on your plan, and configuring them requires the **Owner** or **Admin** role. If your plan doesn't include custom domains, upgrade to add one.
## Add and verify a domain
Open **Settings → Email domains** and select **Add email domain**. Enter the domain you want to send from, such as `mail.example.com`.
homie shows the **DNS records** to add — a DKIM record and a Return-Path record, each with its name, type, and value. Copy them into your domain's DNS settings with your DNS provider.
Back in homie, select **Check verification**. Once the DNS records propagate and match, the domain is marked **Verified** and ready to send.
DNS changes can take time to propagate — from minutes up to 24-48 hours depending on your provider. If verification fails right away, wait and try again before re-checking the records.
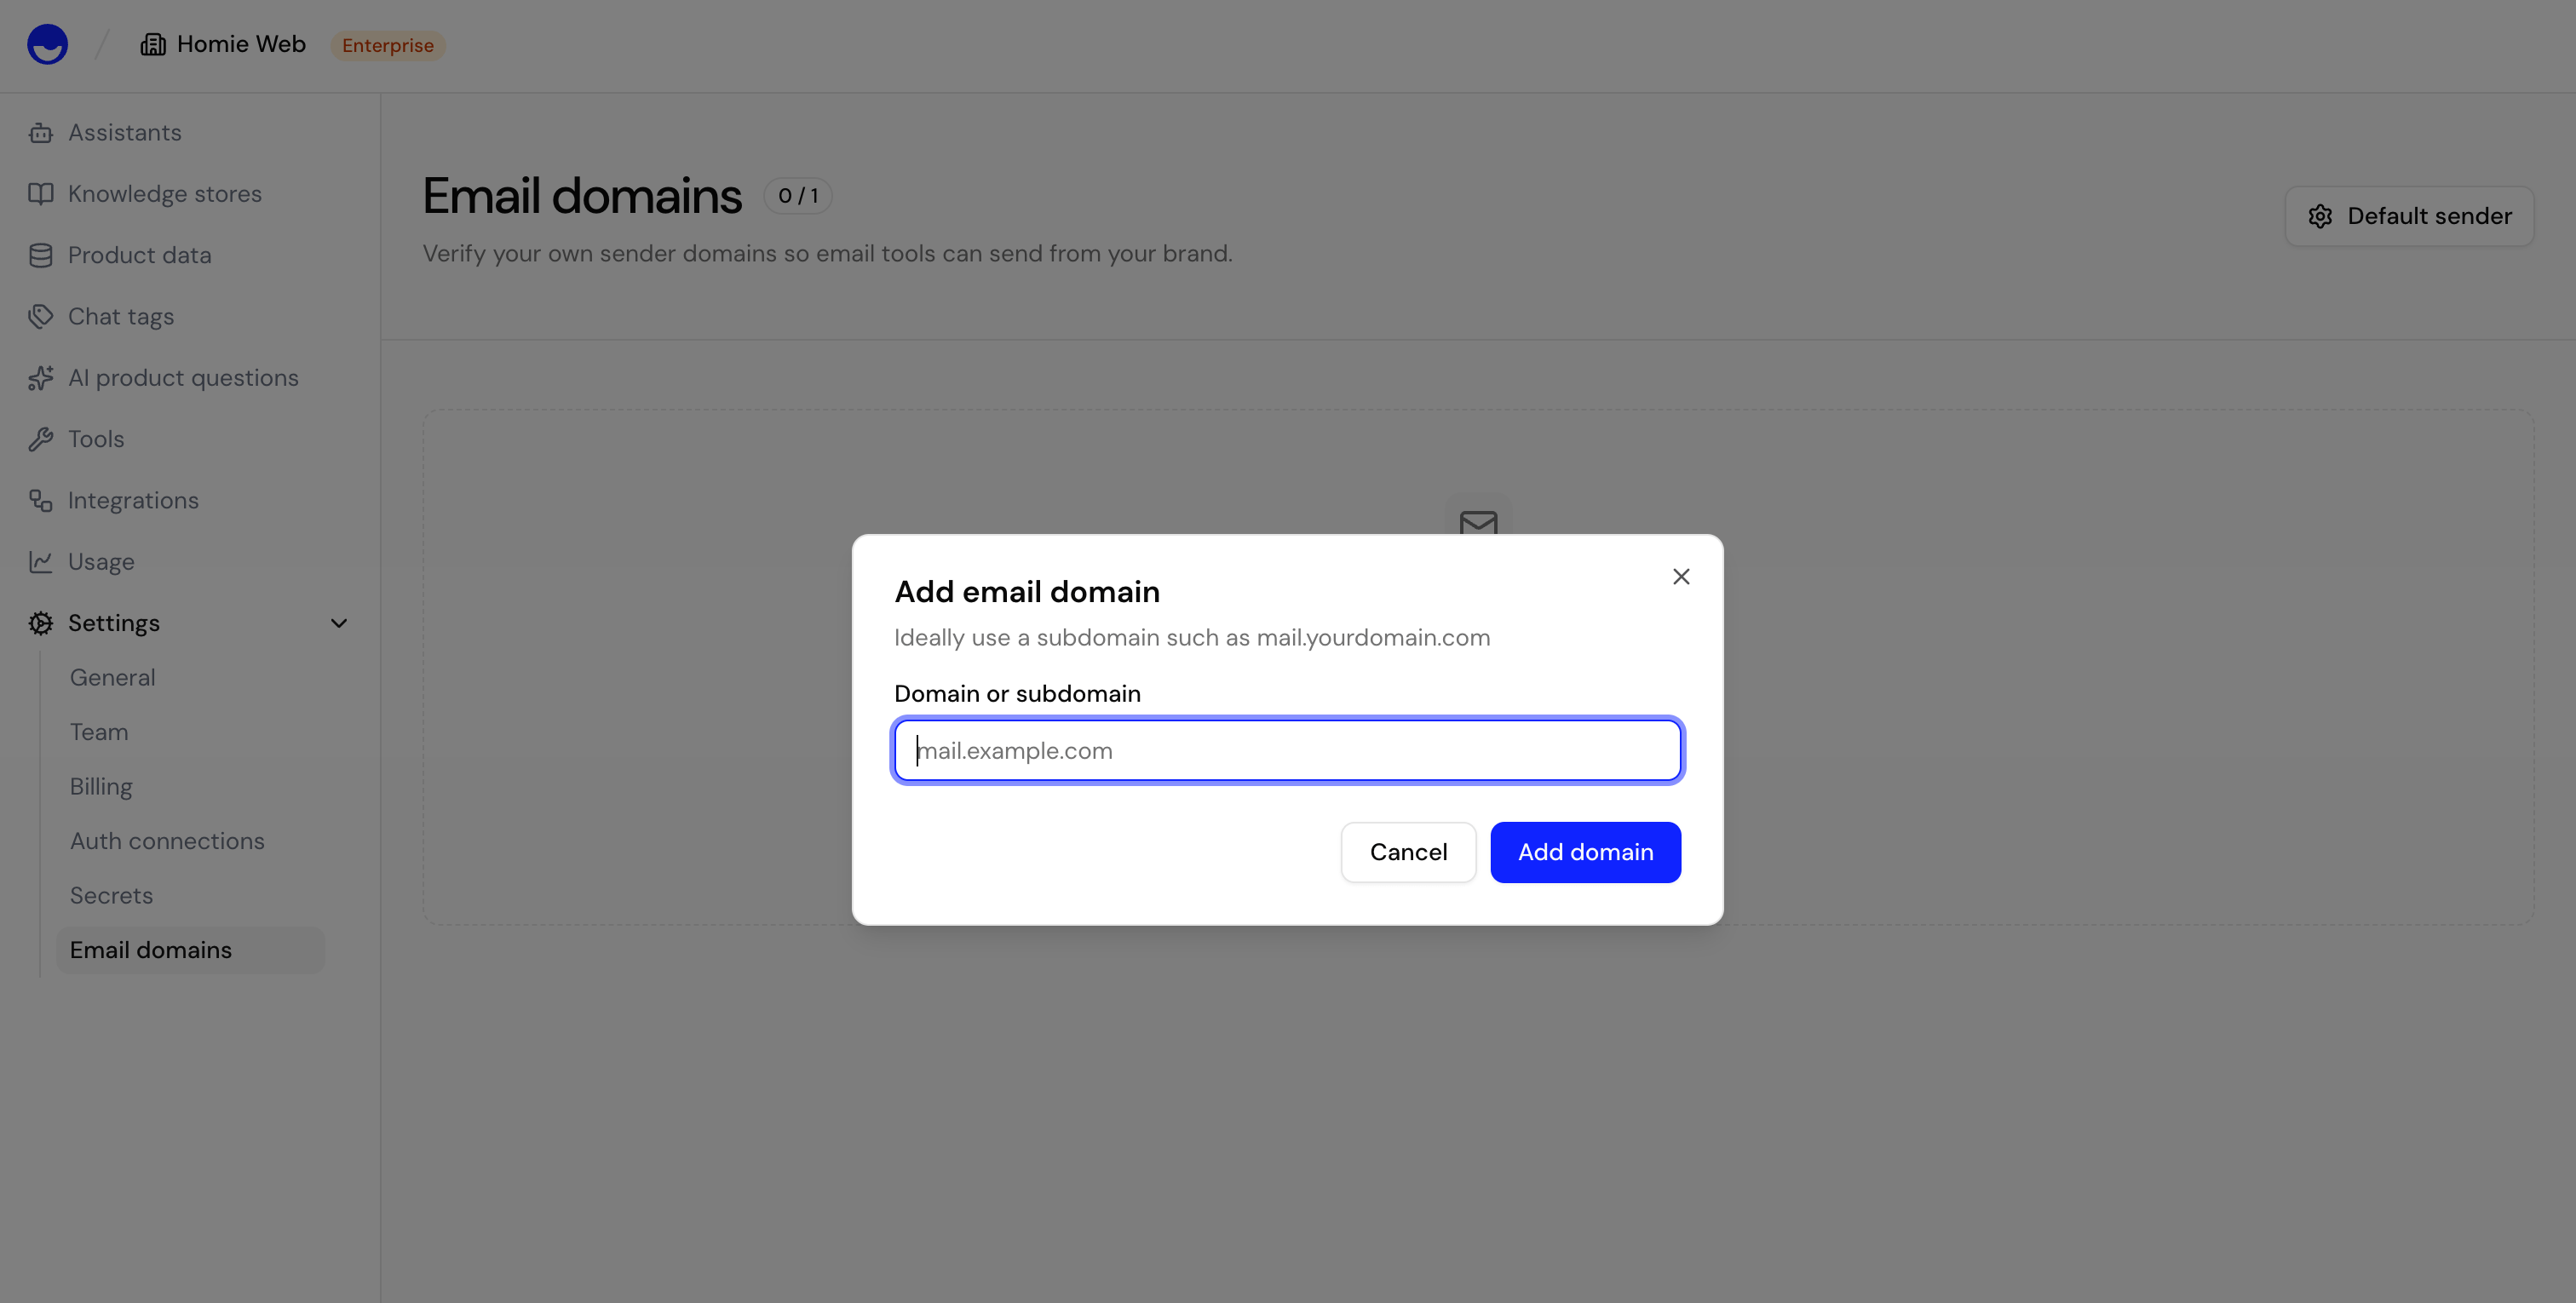 {/* TODO: Screenshot — Dashboard > Settings > Email Domains */}
## Sender profiles
For a verified domain, set up **sender profiles** — the from-name and from-address your assistant uses when sending email. Configure one or more profiles so outgoing email shows a recognizable sender.
## Default sender
If you have more than one verified domain or sender profile, set one as the **Default sender**. The email tool uses the default sender unless an assistant is configured to send from a specific one.
## Next steps
Set up the assistant's email-sending capability.
Store encrypted credentials used by your tools.
{/* TODO: Screenshot — Dashboard > Settings > Email Domains */}
## Sender profiles
For a verified domain, set up **sender profiles** — the from-name and from-address your assistant uses when sending email. Configure one or more profiles so outgoing email shows a recognizable sender.
## Default sender
If you have more than one verified domain or sender profile, set one as the **Default sender**. The email tool uses the default sender unless an assistant is configured to send from a specific one.
## Next steps
Set up the assistant's email-sending capability.
Store encrypted credentials used by your tools.